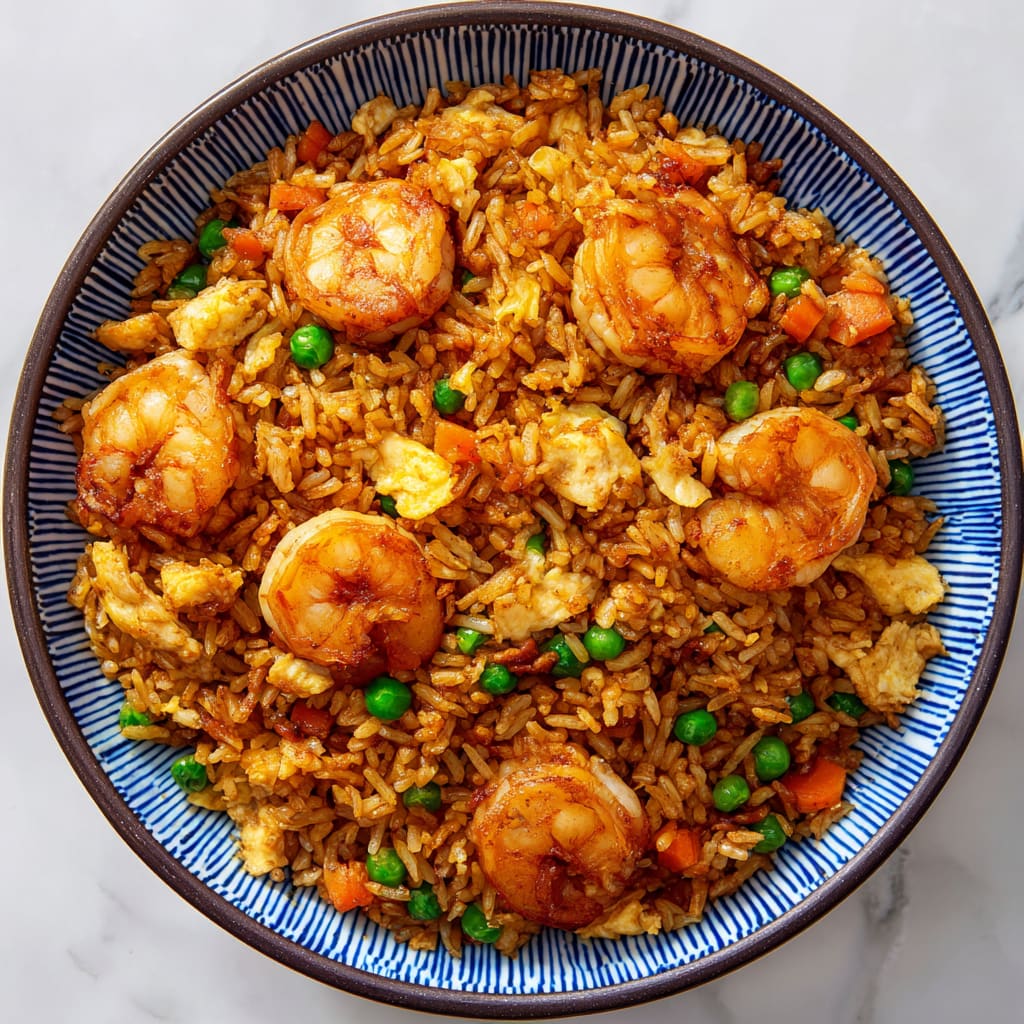
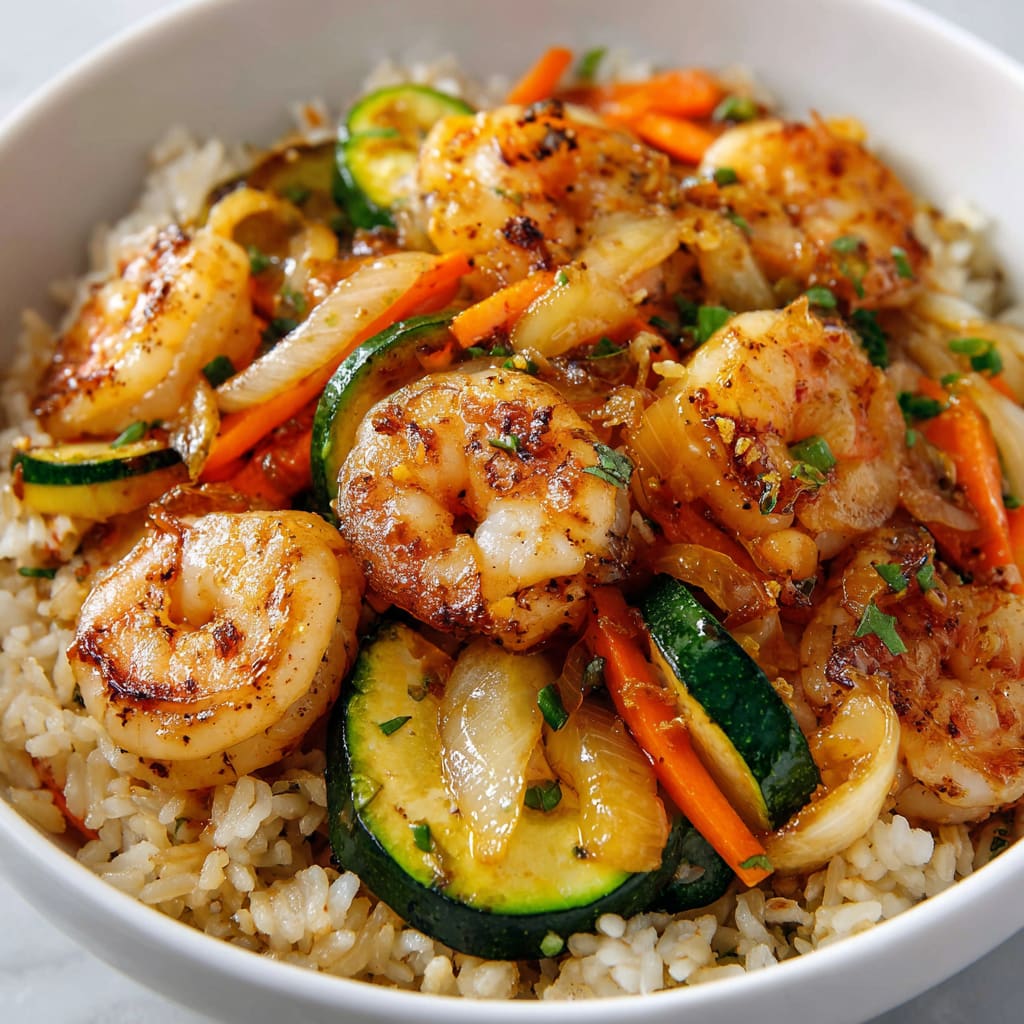
Imagine sizzling, succulent shrimp with a perfect caramelized exterior, nestled on a bed of savory fried rice alongside tender-crisp vegetables, all drizzled with creamy, tangy yum yum sauce. These Hibachi Shrimp Rice Bowls bring the exciting flavors and theatrical cooking style of Japanese steakhouse cuisine right to your kitchen. The combination of umami-rich soy sauce, buttery shrimp, and colorful vegetables creates a restaurant-quality meal that’s surprisingly easy to make at home. You’ll learn how to create perfectly cooked shrimp, flavorful fried rice, and that irresistible yum yum sauce that makes hibachi dining so memorable.
Why You’ll Love This Recipe
These Hibachi Shrimp Rice Bowls are a complete meal in one dish, offering a perfect balance of protein, vegetables, and carbohydrates. The contrast between the tender, juicy shrimp and the slightly crisp vegetables provides a delightful textural experience with every bite. The signature yum yum sauce adds a creamy, tangy element that ties all the components together beautifully.
What makes this hibachi shrimp bowl truly special is how it captures the essence of teppanyaki cooking without requiring specialized equipment. The layering of flavors happens naturally as each component is cooked separately, allowing the ingredients to develop their own character before coming together in harmony.
For busy weeknights, this hibachi-style rice bowl is a game-changer. Most components can be prepped ahead, and the actual cooking takes less than 20 minutes from start to finish. The recipe is also incredibly versatile, allowing you to customize the vegetables or protein based on what you have available, while still maintaining that authentic Japanese steakhouse experience that everyone loves.
Ingredients List for the Hibachi Shrimp Rice Bowls
These carefully selected ingredients create authentic hibachi flavors while remaining accessible for home cooks. The combination of butter and soy sauce creates the signature umami-rich base that gives hibachi cooking its distinctive taste.
For the Yum Yum Sauce:
- ½ cup mayo
- 2 tbsp. ketchup
- ½ tsp. garlic powder
- ½ tsp. paprika
- Few dashes of hot sauce or to taste (optional)
For the Hibachi Components:
- 3 tbsp. unsalted butter (divided)
- 1 lb. raw shrimp (peeled, deveined, and patted dry)
- 4 tbsp. soy sauce (divided)
- 1 medium zucchini (sliced)
- 1 small-medium onion (chopped)
- 1 egg
- 2 cups frozen peas and carrots (unthawed)
- 4 cups cooked rice (cooled)
- 2 tbsp. soy sauce
Pro Tips
For truly exceptional Hibachi Shrimp Rice Bowls, these three techniques make all the difference:
First, ensure your shrimp are completely patted dry before cooking. Excess moisture prevents proper searing and causes the shrimp to steam rather than caramelize. This simple step is crucial for achieving that signature hibachi char and flavor.
Second, use day-old or thoroughly cooled rice for the fried rice component. Freshly cooked rice contains too much moisture and will result in a mushy texture. Ideally, cook your rice a day ahead and refrigerate it overnight, which allows the grains to dry out slightly and firm up, creating that perfect chewy texture with distinct grains.
Finally, cook each component separately and in the proper order using the same pan. This technique—known as “layering flavors”—is a fundamental hibachi cooking principle. Each ingredient picks up residual flavors from what was cooked before, while still maintaining its distinct texture. The pan should be hot enough to create a quick sear but not so hot that ingredients burn before cooking through.
Instructions
Step 1: Make yum yum sauce by mixing together the mayo, ketchup, garlic powder, paprika, and hot sauce (if using) in a bowl. Set aside in the fridge until ready to serve.
Step 2: Heat a large skillet over medium-high heat. Add 1 tbsp. of butter. Cook shrimp in butter for about 1 minute on each side. Add 2 tbsp. of soy sauce and cook until the soy sauce is mostly evaporated. Remove shrimp from pan and set aside.
Step 3: Dry out the large skillet with a paper towel if necessary. Heat another 1 tbsp. of butter in the same skillet and add the onion and zucchini. Saute for about 4-5 minutes until the onion is translucent and the zucchini is softened. Add another 2 tbsp. of soy sauce and cook until the sauce is mostly evaporated. Remove from the pan and set aside.
Step 4: Dry out the large skillet if necessary again. Heat another 1 tbsp. of butter in skillet. Add egg, breaking the yolk and scrambling it. Add cooled rice and frozen vegetables. Saute for about 2-3 minutes and add 2 tbsp. soy sauce. Stir fry for additional 2-3 minutes or until warmed throughout.
Step 5: Assemble the bowl by layering the fried rice, vegetables, and shrimp and drizzling the yum yum sauce on top.
Variations
The classic Hibachi Shrimp Rice Bowl is delicious as written, but these variations keep the dish exciting meal after meal:
For a chicken and shrimp combo hibachi bowl, add 8 ounces of diced chicken breast, cooking it before the shrimp using the same method. This protein-packed variation mirrors the popular “surf and turf” option at hibachi restaurants and provides a satisfying mix of flavors.
Create a vegetarian hibachi rice bowl by omitting the shrimp and doubling the vegetables. Add mushrooms, bell peppers, and broccoli florets for additional texture and nutrients. The vegetables absorb the buttery soy sauce beautifully, creating a umami-rich meat-free alternative.
For a low-carb hibachi shrimp bowl, substitute the rice with cauliflower rice. Simply pulse cauliflower in a food processor until rice-sized, then stir-fry it following the same instructions as regular rice. This variation cuts the carbohydrates significantly while maintaining the satisfying hibachi experience.
Storage and Serving
These Hibachi Shrimp Rice Bowls store beautifully when components are kept separate. Store the rice, vegetables, shrimp, and yum yum sauce in separate airtight containers in the refrigerator for up to 3 days. Reheat the rice and vegetables together in a skillet with a splash of water, then add the shrimp just long enough to warm through without overcooking.
For an authentic hibachi restaurant experience, serve these bowls with a sprinkle of toasted sesame seeds and thinly sliced green onions on top. The sesame adds nutty notes while the green onions provide freshness and color.
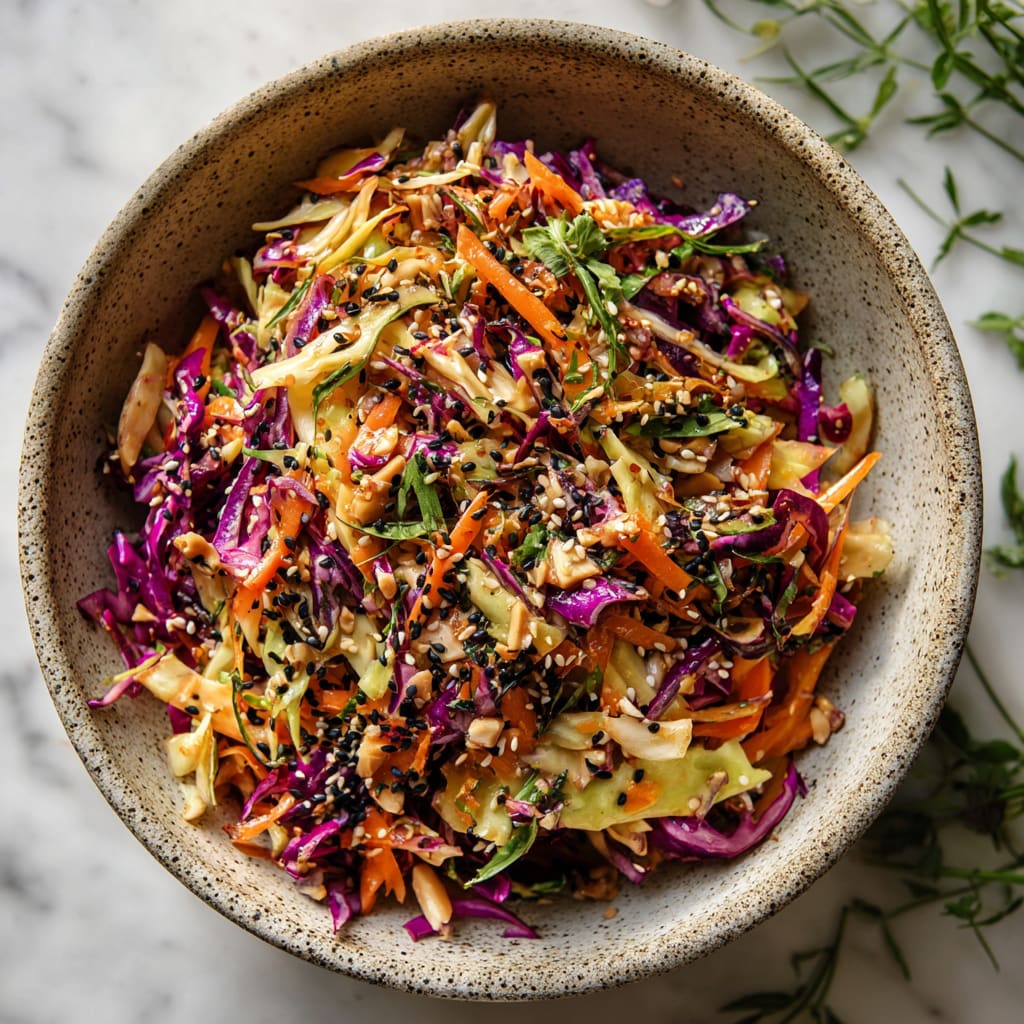
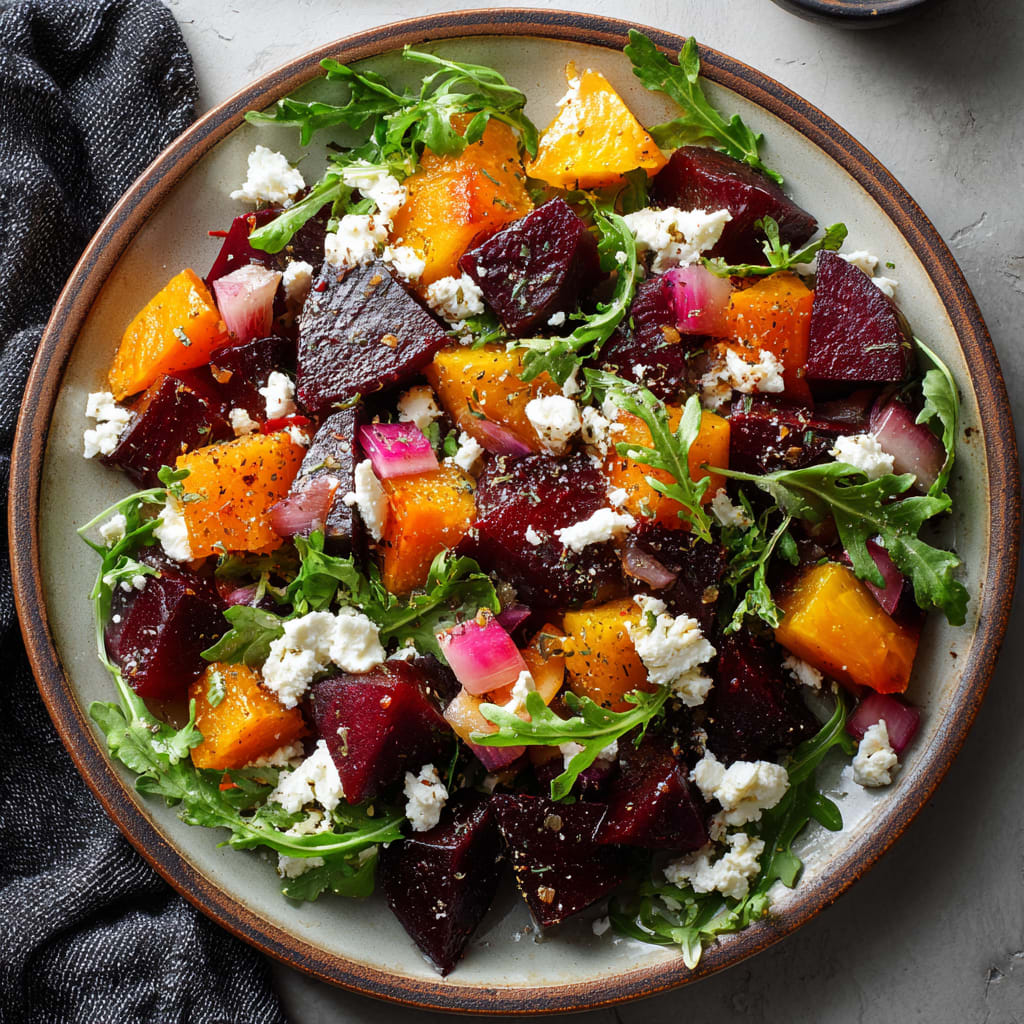
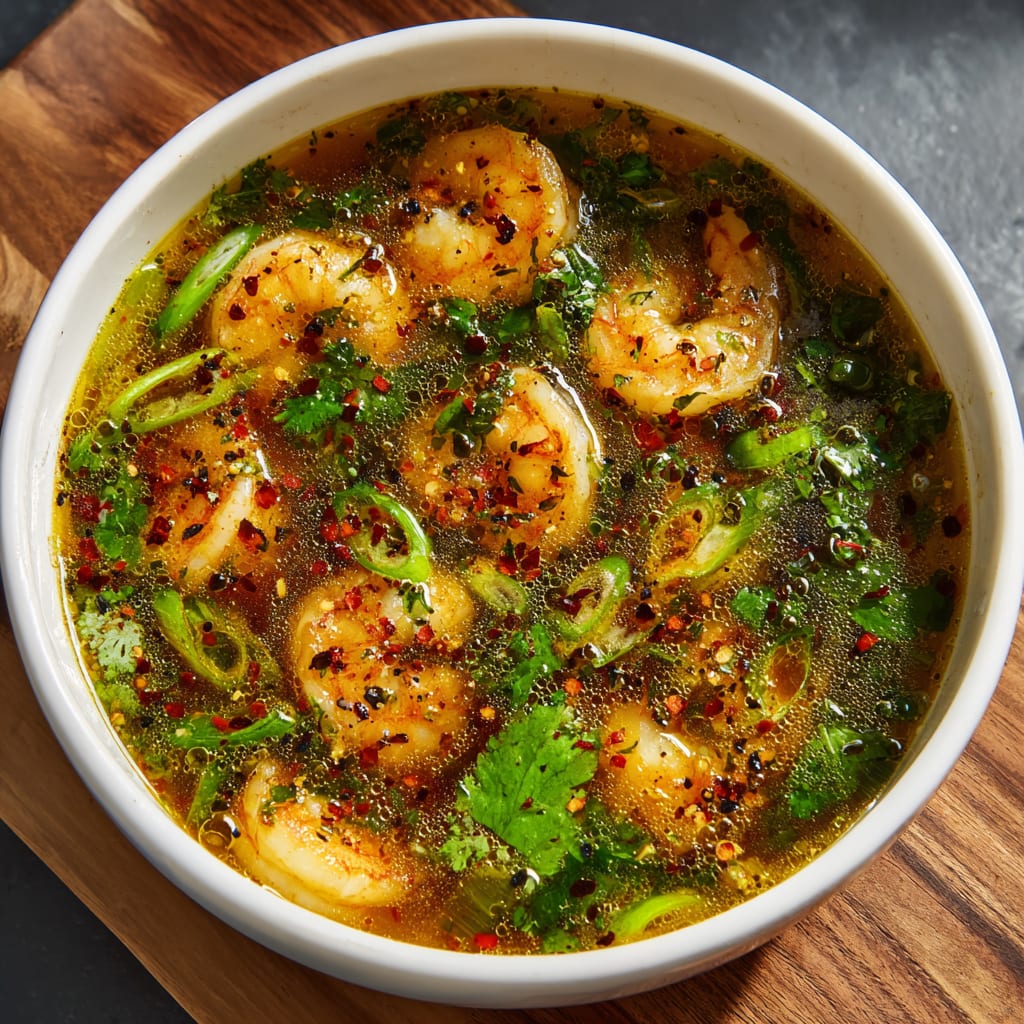
Create a complete hibachi feast by pairing these bowls with a simple clear soup like miso or a small green salad with ginger dressing as starters. For a fun family-style meal, place all components in separate serving dishes and let everyone build their own customized bowl, just like the “choose your own ingredients” experience at hibachi restaurants.
FAQs
Can I use pre-cooked shrimp for this recipe?
While raw shrimp is recommended for the best flavor and texture, you can use pre-cooked shrimp in a pinch. Simply add them at the end of cooking just long enough to warm through (about 30 seconds), as overcooking will make them tough and rubbery.
Is there a substitute for yum yum sauce?
If you don’t have ingredients for yum yum sauce, sriracha mayo (3 parts mayo to 1 part sriracha) makes a quick alternative. Alternatively, a drizzle of sweet chili sauce or even a teriyaki glaze works well with these Hibachi Shrimp Rice Bowls.
Can I make this ahead for meal prep?
Absolutely! Prepare all components separately and store in the refrigerator for up to 3 days. The yum yum sauce actually improves in flavor after a day as the ingredients meld together.
What’s the best rice to use for hibachi-style rice?
Medium-grain white rice is traditional for hibachi cooking, but any rice that produces distinct, separate grains when cooked works well. Jasmine rice is an excellent alternative that adds a pleasant aroma to the dish.
How can I make this spicier?
Add red pepper flakes when cooking the vegetables, include more hot sauce in the yum yum sauce, or serve with sriracha on the side. For authentic hibachi heat, try adding a teaspoon of togarashi (Japanese seven-spice blend) to the rice while stir-frying.
Hibachi Shrimp Rice Bowls
- Prep Time: 15 mins
- Cook Time: 30 mins
- Total Time: 45 mins
- Yield: 4 people 1x
- Category: Dinner
- Method: Cooking
- Cuisine: American
Description
Discover how to make delicious Hibachi Shrimp Rice Bowls at home with this easy recipe! Perfect for a quick and satisfying meal.
Ingredients
- ½ cup mayo
- 2 tbsp. ketchup
- ½ tsp. garlic powder
- ½ tsp. paprika
- Few dashes of hot sauce or to taste (optional)
- 3 tbsp. unsalted butter (divided)
- 1 lb. raw shrimp (peeled, deveined, and patted dry)
- 4 tbsp. soy sauce (divided)
- 1 medium zucchini (sliced)
- 1 small-medium onion (chopped)
- 1 egg
- 2 cups frozen peas and carrots (unthawed)
- 4 cups cooked rice (cooled)
- 2 tbsp. soy sauce
Instructions
- Step 1: Make yum yum sauce by mixing together the mayo, ketchup, garlic powder, paprika, and hot sauce (if using) in a bowl. Set aside in the fridge until ready to serve.
- Step 2: Heat a large skillet over medium-high heat. Add 1 tbsp. of butter. Cook shrimp in butter for about 1 minute on each side. Add 2 tbsp. of soy sauce and cook until the soy sauce is mostly evaporated. Remove shrimp from pan and set aside.
- Step 3: Dry out the large skillet with a paper towel if necessary. Heat another 1 tbsp. of butter in the same skillet and add the onion and zucchini. Saute for about 4-5 minutes until the onion is translucent and the zucchini is softened. Add another 2 tbsp. of soy sauce and cook until the sauce is mostly evaporated. Remove from the pan and set aside.
- Step 4: Dry out the large skillet if necessary again. Heat another 1 tbsp. of butter in skillet. Add egg, breaking the yolk and scrambling it. Add cooled rice and frozen vegetables. Saute for about 2-3 minutes and add 2 tbsp. soy sauce. Stir fry for additional 2-3 minutes or until warmed throughout.
- Step 5: Assemble the bowl by layering the fried rice, vegetables, and shrimp and drizzling the yum yum sauce on top.
Notes
Try This Recipe and Leave a comment Below, your opinion matters to me!
Nutrition
- Serving Size: 4 serving
- Calories: 400
- Sugar: 5g
- Sodium: 400mg
- Fat: 10g
- Saturated Fat: 3g
- Unsaturated Fat: 7g
- Trans Fat: 0g
- Carbohydrates: 40g
- Fiber: 5g
- Protein: 15g
- Cholesterol: 50mg