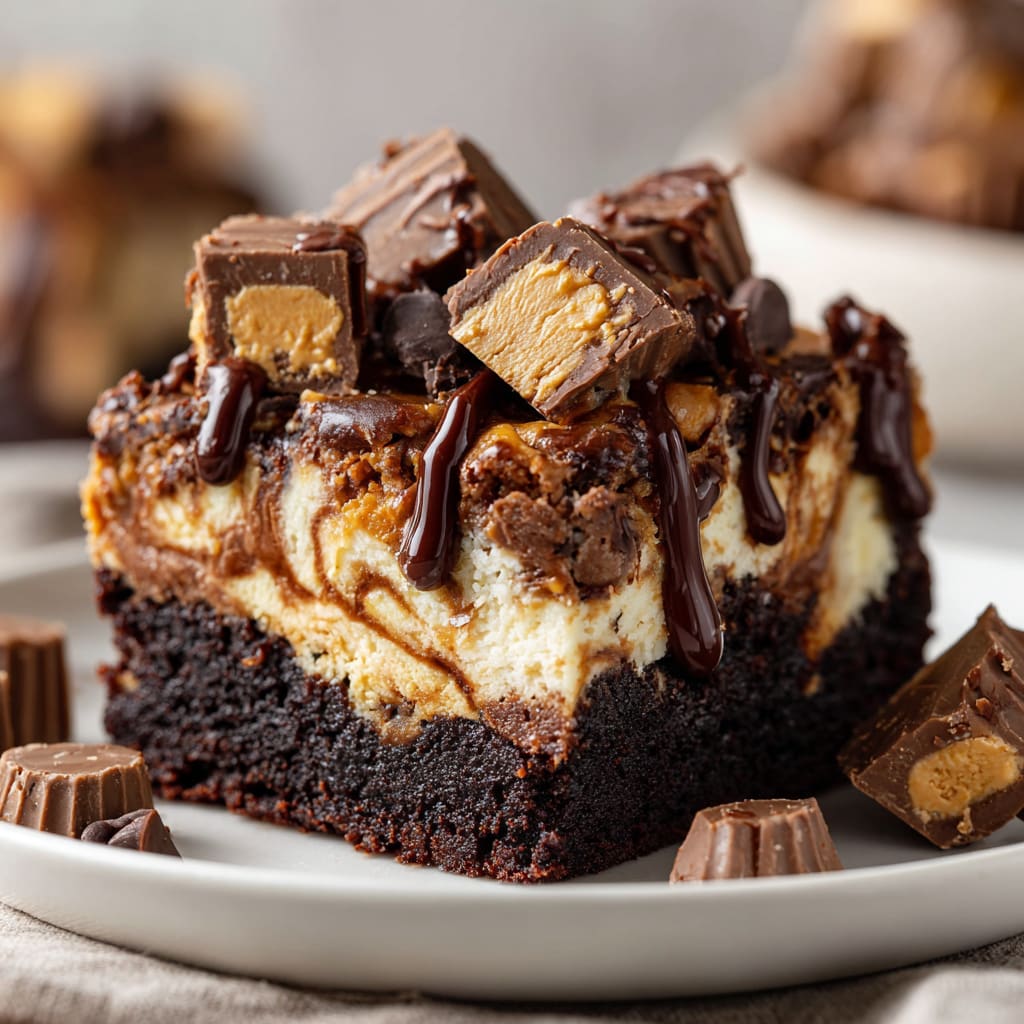
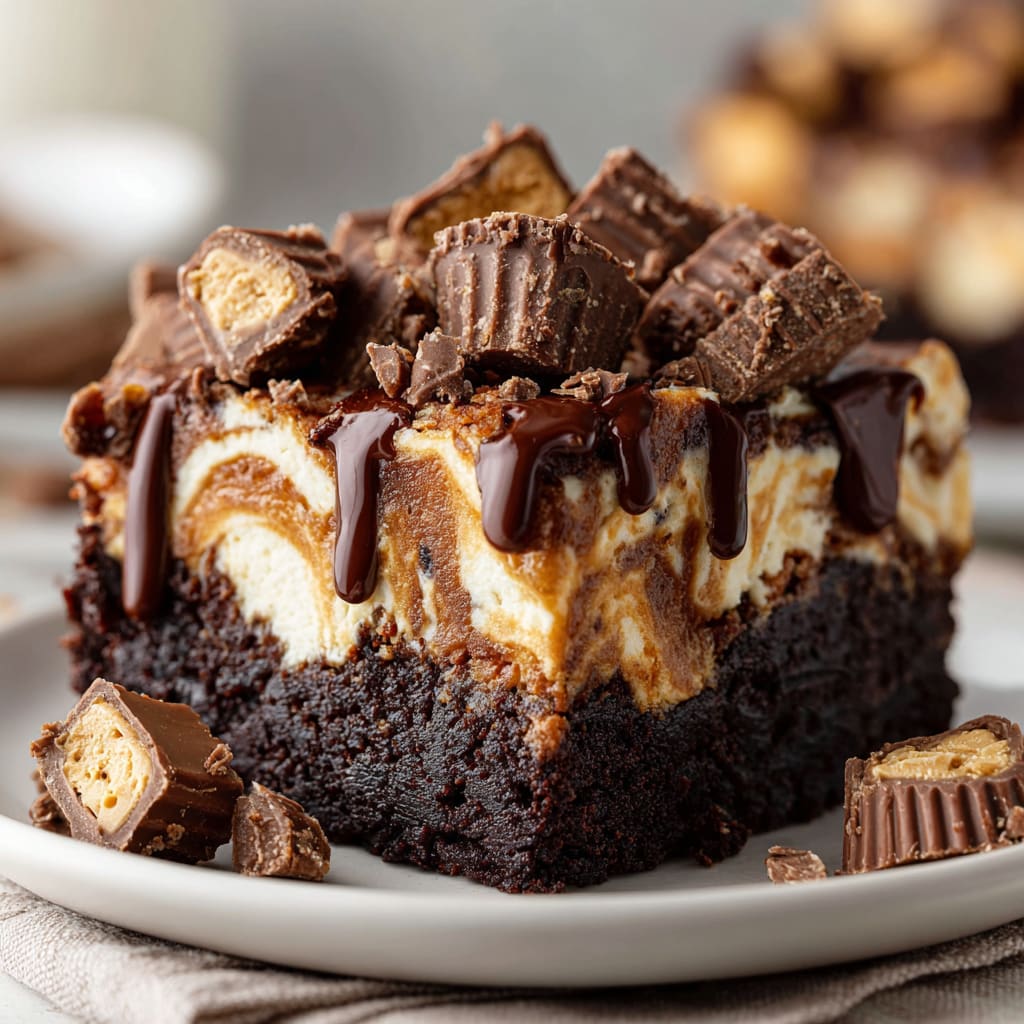
Imagine biting into a warm, fudgy cake layered with rivers of melted chocolate and peanut butter, creating a seismic burst of flavor in every mouthful. That’s the magic of a Reese’s Earthquake Cake – a dessert that literally cracks and shifts during baking, creating a deliciously messy masterpiece that’s as fun to look at as it is to devour. This indulgent treat combines the beloved flavors of Reese’s peanut butter cups with a moist chocolate cake base and cream cheese swirls that will make your taste buds tremble with delight. You’ll learn how to create this show-stopping dessert that looks impressively complex but requires surprisingly minimal effort.
Why You’ll Love This Recipe
The Reese’s Earthquake Cake isn’t just another dessert – it’s an experience that delivers on multiple levels. First, there’s the incredible contrast between the tender chocolate cake base and the pockets of molten peanut butter and chocolate that create an irresistible textural symphony. The cream cheese mixture adds a tangy richness that cuts through the sweetness perfectly.
What makes this cake truly special is how it transforms in the oven – the ingredients shift and settle, creating a dramatic cracked surface that gives the earthquake cake its name. It’s the perfect dessert for those who believe that sometimes the most delicious treats don’t need to look perfect.
Best of all, this recipe is remarkably forgiving. Unlike fussy layer cakes that require precise measurements and decorating skills, the Reese’s Earthquake Cake celebrates imperfection. The messier it looks, the more authentic it becomes! Plus, it’s a one-pan wonder that comes together in minutes, making it perfect for last-minute gatherings or satisfying intense chocolate-peanut butter cravings.
Ingredients
For the Cake Base:
- 1 box (15.25 oz/432g) chocolate cake mix
- 3 large eggs, at room temperature
- 1/3 cup (79ml) vegetable oil
- 1 cup (237ml) buttermilk (or regular milk with 1 tablespoon vinegar)
For the Earthquake Mixture:
- 1 cup (175g) semi-sweet chocolate chips
- 1 cup (175g) Reese’s peanut butter chips
- 1 1/2 cups (150g) chopped Reese’s peanut butter cups (about 15 mini cups)
- 1 cup (80g) sweetened coconut flakes (optional)
For the Cream Cheese Swirl:
- 8 oz (226g) cream cheese, softened
- 1/2 cup (113g) unsalted butter, melted
- 2 cups (240g) powdered sugar
- 1 teaspoon vanilla extract
The chocolate chips and Reese’s components form the heart of this Reese’s Earthquake Cake, creating those signature pockets of molten goodness that give the cake its distinctive “seismic” appearance. The cream cheese mixture adds a crucial tangy-sweet element that balances the richness perfectly.
Pro Tips
1. Perfect Your Cream Cheese Mixture
The secret to achieving those dramatic cracks and shifts in your Reese’s Earthquake Cake lies in the cream cheese mixture. Make sure your cream cheese is properly softened (leave it out for at least 30 minutes) before mixing to avoid lumps. When you pour this mixture over the cake batter, don’t mix it in completely – the heavier mixture will sink during baking, creating the earthquake effect. Pour it in ribbons across the surface rather than in one spot.
2. Strategic Layering
For maximum visual impact and flavor distribution, be intentional with your layering. Sprinkle half of your chocolate chips, peanut butter chips, and chopped Reese’s cups on the bottom of the pan before adding the cake batter. This creates a caramelized bottom layer that adds incredible texture and ensures the mix-ins don’t all sink to the bottom during baking.
3. The Toothpick Test Doesn’t Apply
Unlike traditional cakes, a Reese’s Earthquake Cake is meant to be gooey in the center. Don’t rely on the toothpick test to determine doneness – it should come out slightly wet. The cake is ready when the edges are set but the center still has a slight jiggle. Remember, it will continue to set as it cools. Overbaking will result in a dry cake and solidified chocolate pockets rather than the molten texture that makes this dessert special.
Instructions
Step 1: Prepare Your Pan and Oven
Preheat your oven to 350°F (175°C). Generously grease a 9×13-inch baking pan with butter or cooking spray. This cake tends to stick, so proper pan preparation is crucial. If you want to ensure easy removal, you can line the pan with parchment paper with overhanging edges.
Step 2: Create the Base Layer
Sprinkle half of the chocolate chips, Reese’s peanut butter chips, and chopped Reese’s peanut butter cups evenly across the bottom of your prepared pan. If using coconut flakes, add half of those too. This foundation layer will melt and create pockets of goodness throughout your Reese’s Earthquake Cake.
Step 3: Mix the Cake Batter
In a large mixing bowl, combine the chocolate cake mix, eggs, vegetable oil, and buttermilk. Beat with an electric mixer on medium speed for about 2 minutes until smooth and well combined. The batter will be thicker than if you followed the box directions – this is intentional and helps support the add-ins.
Step 4: Pour and Layer
Pour the cake batter over your base layer of chocolate and peanut butter chips. Use a spatula to gently spread the batter evenly, being careful not to disturb the base layer too much. Sprinkle the remaining chocolate chips, peanut butter chips, chopped Reese’s cups, and coconut flakes (if using) over the cake batter.
Step 5: Prepare the Cream Cheese Mixture
In a separate bowl, beat the softened cream cheese until smooth. Add the melted butter and continue beating until completely incorporated. Gradually add the powdered sugar, beating well after each addition until smooth. Stir in the vanilla extract. The mixture should be pourable but not too runny.
Step 6: Create the Earthquake Effect
Pour the cream cheese mixture over the cake batter in an even pattern, creating ribbons across the surface. Don’t worry about covering every inch – the mixture will spread during baking. Use a knife to gently swirl the cream cheese mixture into the top layer of the cake batter, creating a marbled effect.
Step 7: Bake to Perfection
Bake in the preheated oven for 40-45 minutes. The edges should be set, but the center will still be slightly jiggly. Remember, your Reese’s Earthquake Cake is supposed to be gooey in the middle! Allow the cake to cool for at least 30 minutes before serving – it will continue to set as it cools while maintaining those delicious molten pockets.
Variations
Reese’s Earthquake Cake with Brownies
For an even more decadent version, substitute the chocolate cake mix with a fudge brownie mix. The denser brownie base creates an even more dramatic contrast with the cream cheese swirl and melted Reese’s components. Reduce the oil to 1/4 cup and omit one egg from the base recipe to maintain the proper consistency.
White Chocolate Reese’s Earthquake
For a striking visual contrast, use a white cake mix as your base instead of chocolate. Combine with white chocolate chips and Reese’s white chocolate peanut butter cups for a lighter-colored but equally indulgent Reese’s Earthquake Cake. The flavor profile shifts to highlight the peanut butter even more prominently against the vanilla backdrop.
Gluten-Free Earthquake Cake
This spectacular dessert can easily accommodate dietary restrictions. Simply substitute the regular cake mix with your favorite gluten-free chocolate cake mix. The rest of the ingredients in the traditional Reese’s Earthquake Cake recipe remain the same, resulting in a gluten-free treat that doesn’t compromise on that signature earthquake texture or flavor.
Storage and Serving
Your Reese’s Earthquake Cake can be stored at room temperature, covered tightly, for up to 2 days. For longer storage, refrigerate for up to 5 days – though the texture is best within the first 3 days. The cake can also be frozen in individual portions; wrap each piece in plastic wrap and then aluminum foil before freezing for up to 3 months. Thaw overnight in the refrigerator before serving.
For the ultimate indulgence, serve your Reese’s Earthquake Cake slightly warm (15 seconds in the microwave will revive those molten pockets of chocolate and peanut butter) with a scoop of vanilla ice cream on top. The contrast between the warm, gooey cake and cold ice cream creates dessert perfection.
For a stunning presentation, dust the top with a little powdered sugar just before serving, then drizzle with warm peanut butter or chocolate sauce. This creates an impressive dessert that’s perfect for special occasions while highlighting the cake’s unique craggy surface.
FAQs
Why did my cake not “earthquake” as expected?
The earthquake effect comes from the cream cheese mixture being heavier than the cake batter and sinking during baking. Ensure your cream cheese mixture isn’t overmixed with the batter – it should be swirled, not incorporated. Also, check that your oven temperature is accurate, as too low a temperature won’t create the proper reaction.
Can I use natural peanut butter instead of Reese’s peanut butter chips?
While natural peanut butter has wonderful flavor, it has different melting properties than peanut butter chips. If substituting, mix 3/4 cup peanut butter with 1/4 cup powdered sugar before dolloping onto the batter. This will help it maintain structure during baking in your Reese’s Earthquake Cake.
My cake seems too gooey in the center. Is it undercooked?
The Reese’s Earthquake Cake is meant to have a gooey, pudding-like center – that’s part of its charm! However, if it seems too liquid, it may need a few more minutes in the oven. Remember that it will continue to set as it cools.
Can I make this cake ahead for a party?
Absolutely! This cake actually improves after sitting for several hours, as the flavors meld together. Make it the morning of your event for best results.
Is there a dairy-free version of this cake?
Yes! Use dairy-free chocolate cake mix, plant-based butter, and dairy-free cream cheese. Most Reese’s products contain dairy, so substitute with dairy-free chocolate chips and a dairy-free peanut butter cup brand like Justin’s or UnReal.

Reese’s Earthquake Cake
- Prep Time: 15 minutes
- Cook Time: 40-45 minutes
- Total Time: 1 hour
- Yield: 12 servings 1x
- Category: Dessert
- Method: Baking
- Cuisine: Americaine
Description
Reese’s Earthquake Cake: Decadent chocolate cake swirled with peanut butter, loaded with Reese’s cups. A crowd-pleasing dessert that’s quick and comforting.
Ingredients
- 1 box (15.25 oz/432g) chocolate cake mix
- 3 large eggs, at room temperature
- 1/3 cup (79ml) vegetable oil
- 1 cup (237ml) buttermilk (or regular milk with 1 tablespoon vinegar)
- 1 cup (175g) semi-sweet chocolate chips
- 1 cup (175g) Reese’s peanut butter chips
- 1 1/2 cups (150g) chopped Reese’s peanut butter cups (about 15 mini cups)
- 1 cup (80g) sweetened coconut flakes
- 8 oz (226g) cream cheese, softened
- 1/2 cup (113g) unsalted butter, melted
- 2 cups (240g) powdered sugar
- 1 teaspoon vanilla extract
Instructions
- Step 1: Prepare Your Pan and Oven Preheat your oven to 350°F (175°C). Generously grease a 9×13-inch baking pan with butter or cooking spray. Proper pan preparation is crucial as this cake tends to stick. Optionally, line the pan with parchment paper for easy removal.
- Step 2: Create the Base Layer Sprinkle half of the chocolate chips, Reese’s peanut butter chips, chopped Reese’s peanut butter cups, and coconut flakes (if using) evenly across the bottom of the prepared pan to create a foundation layer.
- Step 3: Mix the Cake Batter In a large mixing bowl, combine the chocolate cake mix, eggs, vegetable oil, and buttermilk. Beat with an electric mixer on medium speed for about 2 minutes until smooth and well combined.
- Step 4: Pour and Layer Pour the cake batter over the base layer of chocolate and peanut butter chips in the pan. Gently spread the batter evenly with a spatula. Sprinkle the remaining chocolate chips, peanut butter chips, chopped Reese’s cups, and coconut flakes over the top.
- Step 5: Prepare the Cream Cheese Mixture In a separate bowl, beat the softened cream cheese until smooth. Add melted butter and gradually incorporate powdered sugar, beating well after each addition. Stir in the vanilla extract to create a pourable cream cheese mixture.
- Step 6: Create the Earthquake Effect Pour the cream cheese mixture over the cake batter in an even pattern, creating ribbons across the surface. Use a knife to gently swirl the cream cheese into the top layer of the cake batter for a marbled effect.
- Step 7: Bake to Perfection Bake the cake in the preheated oven for 40-45 minutes until the edges are set but the center is still slightly jiggly. Remember, the **Reese’s Earthquake Cake** should be gooey in the middle. Allow the cake to cool for at least 30 minutes before serving to set and maintain the molten pockets.
Notes
Fresh ingredients will always yield the best flavor results.
Nutrition
- Serving Size: 1 slice
- Calories: 480 calories
- Sugar: 34g
- Sodium: 370mg
- Fat: 28g
- Saturated Fat: 13g
- Unsaturated Fat: 12g
- Trans Fat: 0g
- Carbohydrates: 54g
- Fiber: 2g
- Protein: 7g
- Cholesterol: 75mg