Indulge in the rich, velvety decadence of this show-stopping Triple Chocolate Cake that promises to satisfy even the most intense chocolate cravings. Each forkful delivers an irresistible combination of moist chocolate cake layers enrobed in silky chocolate buttercream frosting. What makes this Triple Chocolate Cake truly special is the perfect balance of sweetness with deep chocolate notes, enhanced by a secret ingredient – freshly brewed coffee – that intensifies the chocolate flavor without adding any coffee taste. You’ll learn how to create bakery-quality chocolate layers, master a smooth, creamy frosting technique, and assemble a cake that looks as impressive as it tastes.
Why You’ll Love This Recipe
This ultimate Triple Chocolate Cake will become your go-to chocolate dessert for several compelling reasons. First, the cake layers achieve that elusive perfect texture: incredibly moist and tender while still maintaining enough structure to stack beautifully. Unlike some chocolate cakes that can be overly sweet, this recipe delivers profound chocolate intensity through three different chocolate components – cocoa powder in the batter, cocoa in the frosting, and optional chocolate chips for decoration.
Home bakers particularly appreciate how forgiving this recipe is despite its impressive results. The batter comes together with straightforward mixing techniques – no complicated folding or tempering required. Even if you’re new to layer cakes, the clear instructions ensure success every time.
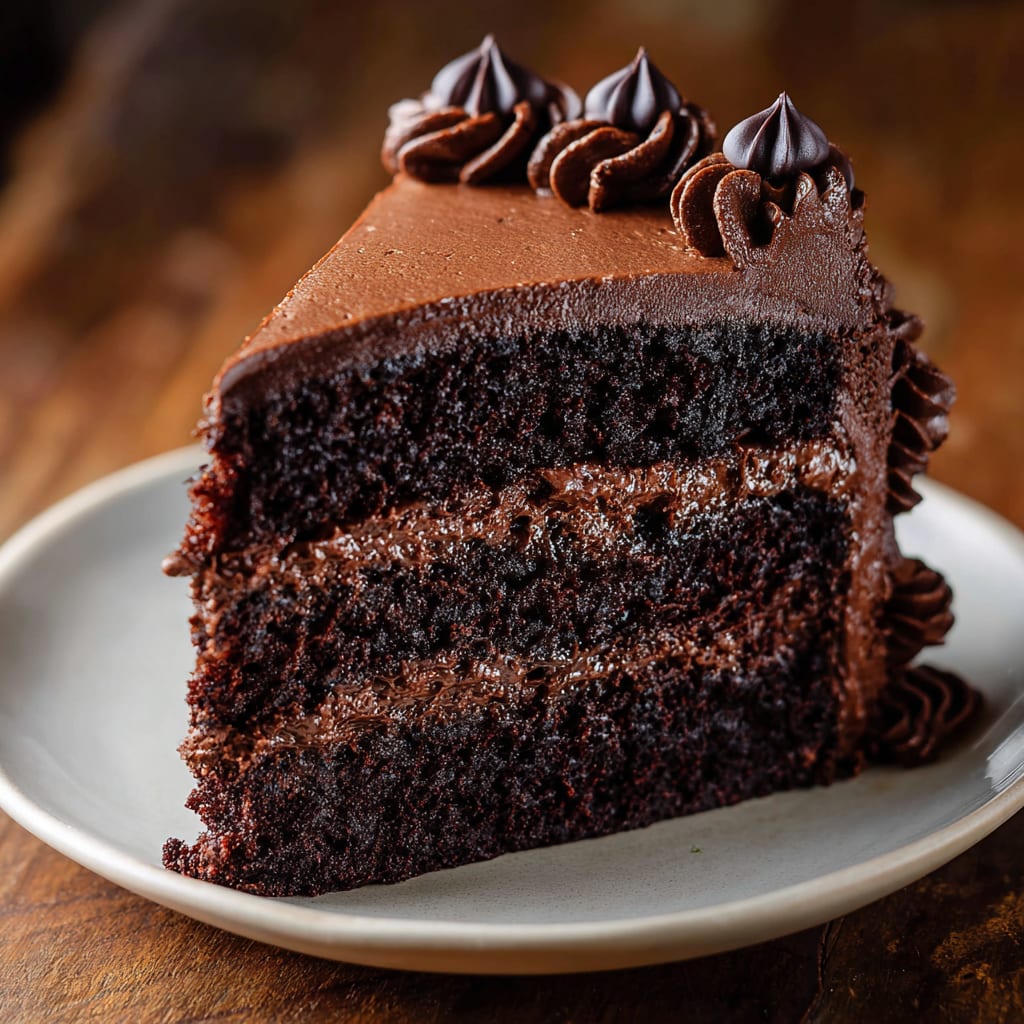
What truly distinguishes this chocolate layer cake is the extraordinary contrast between the soft, slightly springy cake and the creamy, rich frosting. Each bite offers a sensory experience where the cake seems to melt in your mouth while the buttercream provides a luscious counterpoint. When served slightly chilled, the textural interplay becomes even more pronounced, making this multilayered chocolate masterpiece absolutely irresistible.
Ingredients List for the Triple Chocolate Cake
This recipe uses a careful balance of ingredients that work together to create the ultimate chocolate experience. The coffee enhances the cocoa flavors while the buttermilk ensures a tender, moist crumb.
For the Cake:
- 1 and 3/4 cups (219g) all-purpose flour (spooned & leveled)
- 3/4 cup (62g) unsweetened natural cocoa powder
- 1 and 3/4 cups (350g) granulated sugar
- 2 teaspoons baking soda
- 1 teaspoon baking powder
- 1 teaspoon salt
- 2 teaspoons espresso powder (optional)
- 1/2 cup (120ml) vegetable oil (or canola oil or melted coconut oil)
- 2 large eggs, at room temperature
- 2 teaspoons pure vanilla extract
- 1 cup (240ml) buttermilk, at room temperature
- 1 cup (240ml) freshly brewed strong hot coffee (regular or decaf)
For the Chocolate Buttercream:
- 1 and 1/4 cups (282g) unsalted butter, softened to room temperature
- 3 and 1/2 cups (420g) confectioners’ sugar
- 3/4 cup (62g) unsweetened cocoa powder (natural or dutch process)
- 3-5 Tablespoons (45-75ml) heavy cream (or half-and-half or milk), at room temperature
- 1/4 teaspoon salt
- 1 teaspoon pure vanilla extract
- Optional for decoration: semi-sweet chocolate chips
Pro Tips
Creating the perfect Triple Chocolate Cake requires attention to a few critical techniques that make all the difference between a good cake and an extraordinary one.
First, ensure all your refrigerated ingredients (eggs, buttermilk, heavy cream) reach room temperature before beginning. This seemingly small detail allows for proper emulsification and even mixing, resulting in a smoother batter and ultimately a more uniform cake texture. Cold ingredients don’t incorporate properly and can lead to a dense, uneven crumb.
Second, don’t rush the beating process when making the frosting. The initial 2-minute butter-beating stage creates the foundation for silky buttercream. The butter needs this time to incorporate air, which makes the frosting light and spreadable. However, be careful not to over-whip after adding the remaining ingredients, as this can introduce too much air and make frosting difficult to smooth.
Finally, the coffee component is transformative but misunderstood. The hot coffee doesn’t make the cake taste like coffee – instead, it enhances and deepens the chocolate flavor while adding moisture. If you’re caffeine-sensitive, decaf works perfectly. The heat from the liquid also helps “bloom” the cocoa powder, releasing its full flavor potential and creating that intense chocolate experience that makes this chocolate layer cake exceptional.
Instructions
Step 1: Preheat oven to 350°F (177°C). Grease two 9-inch cake pans, line with parchment paper rounds, then grease the parchment paper. Parchment paper helps the cakes seamlessly release from the pans. (If it’s helpful, see this parchment paper rounds for cakes video & post.)
Step 2: Whisk the flour, cocoa powder, sugar, baking soda, baking powder, salt, and espresso powder (if using) together in a large bowl. Set aside. Using a handheld or stand mixer fitted with a whisk attachment (or you can use a whisk) mix the oil, eggs, and vanilla together on medium-high speed until combined. Add the buttermilk and mix until combined. Pour the wet ingredients into the dry ingredients, add the hot water/coffee, and whisk or beat on low speed until the batter is completely combined. Batter is thin.
Step 3: Divide batter evenly between pans. Bake for 23-26 minutes or until a toothpick inserted in the center comes out clean. Baking times vary, so keep an eye on yours. The cakes are done when a toothpick inserted in the center comes out clean. (Note: Even if they’re completely done, the cooled cakes may slightly sink in the center. Cocoa powder is simply not as structurally strong as all-purpose flour and can’t hold up to all the moisture necessary to make a moist tasting chocolate cake. It’s normal!)
Step 4: Remove the cakes from the oven and set on a wire rack. Allow to cool completely in the pan.
Step 5: With a handheld or stand mixer fitted with a paddle attachment, beat the butter on medium speed until creamy—about 2 minutes. Add confectioners’ sugar, cocoa powder, 3 Tablespoons heavy cream, salt, and vanilla extract. Beat on low speed for 30 seconds, then increase to high speed and beat for 1 full minute. Do not over-whip. Add 1/4 cup more confectioners’ sugar or cocoa powder if frosting is too thin or 1-2 more Tablespoons of cream if frosting is too thick. (I usually add 1 more.) Taste. Add another pinch of salt if desired.
Step 6: If cooled cakes are domed on top, use a large serrated knife to slice a thin layer off the tops to create a flat surface. This is called “leveling” the cakes. Discard or crumble over finished cake. Place 1 cake layer on your cake stand or serving plate. Evenly cover the top with frosting. Top with 2nd layer and spread remaining frosting all over the top and sides. I always use an icing spatula and bench scraper for the frosting. Garnish with chocolate chips, if desired.
Step 7: Refrigerate uncovered cake for at least 30-60 minutes before slicing to help set the shape. After that, you can serve the cake or continue refrigerating for up to 4–6 hours before serving. Cake can be served at room temperature or chilled.
Step 8: Cover leftover cake tightly and store in the refrigerator for 5 days. I like using a cake carrier for storing and transporting.
Variations
The classic Triple Chocolate Cake provides a perfect foundation for creating personalized variations to suit different occasions or dietary needs. For a more sophisticated adult version, consider adding 2 tablespoons of bourbon or Kahlúa to the batter, which complements the chocolate notes beautifully while adding subtle complexity to the flavor profile.
For those requiring a gluten-free chocolate layer cake, substitute the all-purpose flour with a high-quality measure-for-measure gluten-free flour blend. The structure provided by the eggs and the moisture from the oil ensure the cake maintains its delightful texture even without traditional wheat flour.
Chocolate-raspberry enthusiasts can transform this into a chocolate-berry masterpiece by adding a layer of raspberry preserves between the cake layers before frosting. The slight tartness of the berries creates a delightful contrast against the rich chocolate layers, making this variation particularly popular for special occasions like Valentine’s Day or anniversaries when you need a show-stopping chocolate dessert.
Storage and Serving
Your Triple Chocolate Cake will maintain its freshness and flavor when properly stored. Keep leftover cake in an airtight container or wrapped tightly with plastic wrap in the refrigerator for up to 5 days. The cake actually improves after a day as the flavors meld together, making this an excellent make-ahead dessert for special occasions.
For the best flavor experience, remove the cake from the refrigerator 20-30 minutes before serving to take the chill off. While some prefer the fudgy texture of cold chocolate cake, allowing it to warm slightly intensifies the chocolate flavor and softens the frosting to a silky consistency.
Elevate your presentation by serving each slice with accompaniments that complement the rich chocolate notes. A dollop of lightly sweetened whipped cream provides a light contrast to the intense chocolate. For a more elaborate dessert experience, pair with fresh raspberries or strawberries, whose tartness cuts through the richness, or add a scoop of vanilla ice cream whose creamy coldness creates a delightful temperature and flavor contrast against the decadent chocolate layers.
FAQs
Can I make this Triple Chocolate Cake in advance?
Yes! This cake actually benefits from being made 1-2 days ahead. The flavors deepen and the moisture distributes evenly throughout the layers. Store in the refrigerator and bring to room temperature before serving.
I don’t drink coffee. Can I substitute something else?
Absolutely. While coffee enhances the chocolate flavor without adding coffee taste, you can substitute hot water or hot chocolate instead. You’ll still get a delicious cake, though the chocolate intensity may be slightly reduced.
Why did my cake sink in the middle?
A slight sinking in the center is normal for chocolate cakes due to the cocoa powder’s structure. However, significant sinking usually indicates underbaking or opening the oven door during baking. Always use the toothpick test to ensure it’s fully baked.
Can I freeze this cake?
Yes! Freeze unfrosted cake layers tightly wrapped for up to 3 months. You can also freeze the completed frosted cake. Allow it to set in the freezer uncovered for 1 hour, then wrap tightly and freeze for up to 2 months. Thaw overnight in the refrigerator.
Is Dutch-process cocoa powder interchangeable with natural cocoa in this recipe?
For the cake batter, stick with natural cocoa as specified, since it interacts with the baking soda. For the frosting, either type works well, with Dutch-process providing a slightly smoother, less acidic chocolate flavor.

Triple Chocolate Cake
- Prep Time: 15 mins
- Cook Time: 30 mins
- Total Time: 45 mins
- Yield: 4 people 1x
- Category: Dessert
- Method: Cooking
- Cuisine: American
Description
Indulge in decadence with our irresistible Triple Chocolate Cake recipe. Discover the ultimate treat today!
Ingredients
- 1 and 3/4 cups (219g) all-purpose flour (spooned & leveled)
- 3/4 cup (62g) unsweetened natural cocoa powder
- 1 and 3/4 cups (350g) granulated sugar
- 2 teaspoons baking soda
- 1 teaspoon baking powder
- 1 teaspoon salt
- 2 teaspoons espresso powder (optional)
- 1/2 cup (120ml) vegetable oil (or canola oil or melted coconut oil)
- 2 large eggs, at room temperature
- 2 teaspoons pure vanilla extract
- 1 cup (240ml) buttermilk, at room temperature
- 1 cup (240ml) freshly brewed strong hot coffee (regular or decaf)
- 1 and 1/4 cups (282g) unsalted butter, softened to room temperature
- 3 and 1/2 cups (420g) confectioners’ sugar
- 3/4 cup (62g) unsweetened cocoa powder (natural or dutch process)
- 3–5 Tablespoons (45-75ml) heavy cream (or half-and-half or milk), at room temperature
- 1/4 teaspoon salt
- 1 teaspoon pure vanilla extract
- Optional for decoration: semi-sweet chocolate chips
Instructions
- Step 1: Preheat oven to 350°F (177°C). Grease two 9-inch cake pans, line with parchment paper rounds, then grease the parchment paper. Parchment paper helps the cakes seamlessly release from the pans. (If it’s helpful, see this parchment paper rounds for cakes video & post.).
- Step 2: Whisk the flour, cocoa powder, sugar, baking soda, baking powder, salt, and espresso powder (if using) together in a large bowl. Set aside. Using a handheld or stand mixer fitted with a whisk attachment (or you can use a whisk) mix the oil, eggs, and vanilla together on medium-high speed until combined. Add the buttermilk and mix until combined. Pour the wet ingredients into the dry ingredients, add the hot water/coffee, and whisk or beat on low speed until the batter is completely combined. Batter is thin.
- Step 3: Divide batter evenly between pans. Bake for 23-26 minutes or until a toothpick inserted in the center comes out clean. Baking times vary, so keep an eye on yours. The cakes are done when a toothpick inserted in the center comes out clean. (Note: Even if they’re completely done, the cooled cakes may *slightly* sink in the center. Cocoa powder is simply not as structurally strong as all-purpose flour and can’t hold up to all the moisture necessary to make a moist tasting chocolate cake. It’s normal!).
- Step 4: Remove the cakes from the oven and set on a wire rack. Allow to cool completely in the pan.
- Step 5: With a handheld or stand mixer fitted with a paddle attachment, beat the butter on medium speed until creamy—about 2 minutes. Add confectioners’ sugar, cocoa powder, 3 Tablespoons heavy cream, salt, and vanilla extract. Beat on low speed for 30 seconds, then increase to high speed and beat for 1 full minute. Do not over-whip. Add 1/4 cup more confectioners’ sugar or cocoa powder if frosting is too thin or 1-2 more Tablespoons of cream if frosting is too thick. (I usually add 1 more.) Taste. Add another pinch of salt if desired.
- Step 6: If cooled cakes are domed on top, use a large serrated knife to slice a thin layer off the tops to create a flat surface. This is called “leveling” the cakes. Discard or crumble over finished cake. Place 1 cake layer on your cake stand or serving plate. Evenly cover the top with frosting. Top with 2nd layer and spread remaining frosting all over the top and sides. I always use an icing spatula and bench scraper for the frosting. Garnish with chocolate chips, if desired.
- Step 7: Refrigerate uncovered cake for at least 30-60 minutes before slicing to help set the shape. After that, you can serve the cake or continue refrigerating for up to 4–6 hours before serving. Cake can be served at room temperature or chilled.
- Step 8: Cover leftover cake tightly and store in the refrigerator for 5 days. I like using a cake carrier for storing and transporting.
Notes
Try This Recipe and Leave a comment Below, your opinion matters to me!
Nutrition
- Serving Size: 4 serving
- Calories: 400
- Sugar: 5g
- Sodium: 400mg
- Fat: 10g
- Saturated Fat: 3g
- Unsaturated Fat: 7g
- Trans Fat: 0g
- Carbohydrates: 40g
- Fiber: 5g
- Protein: 15g
- Cholesterol: 50mg