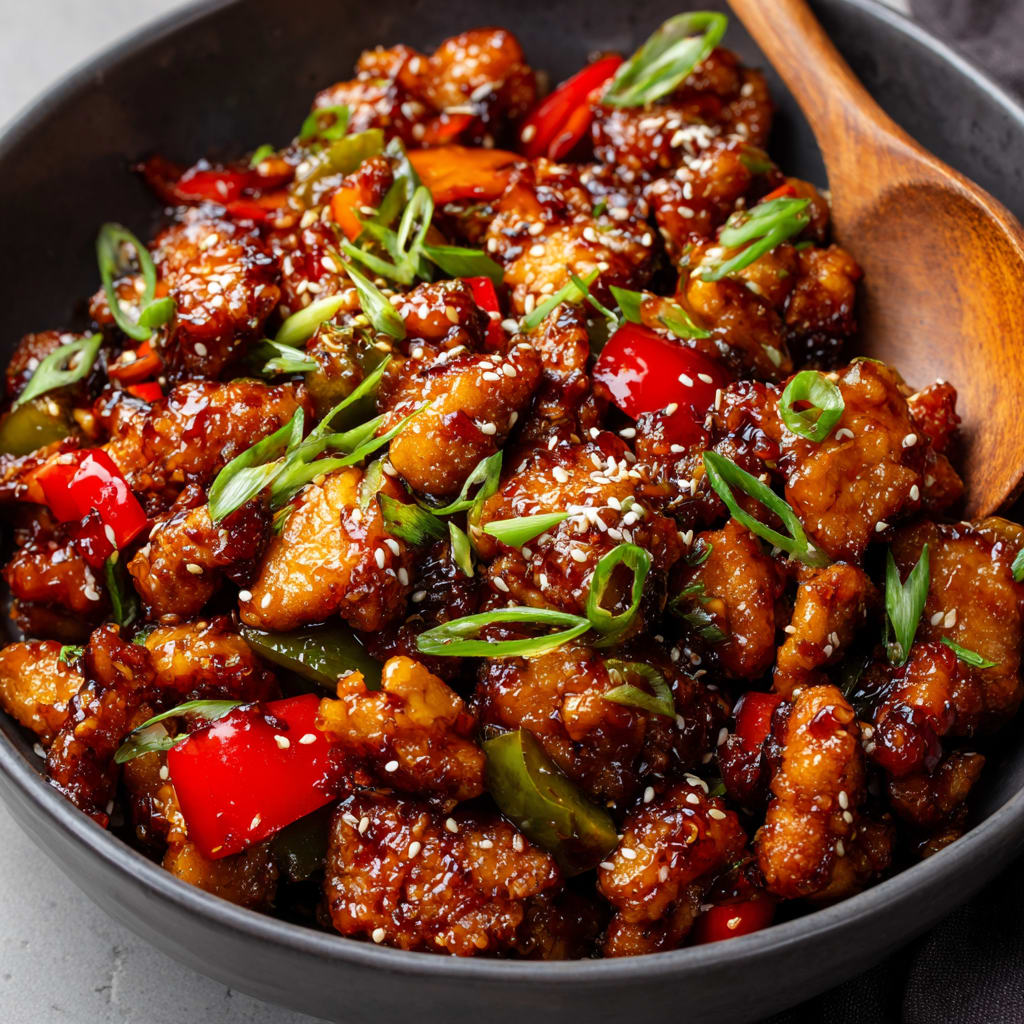
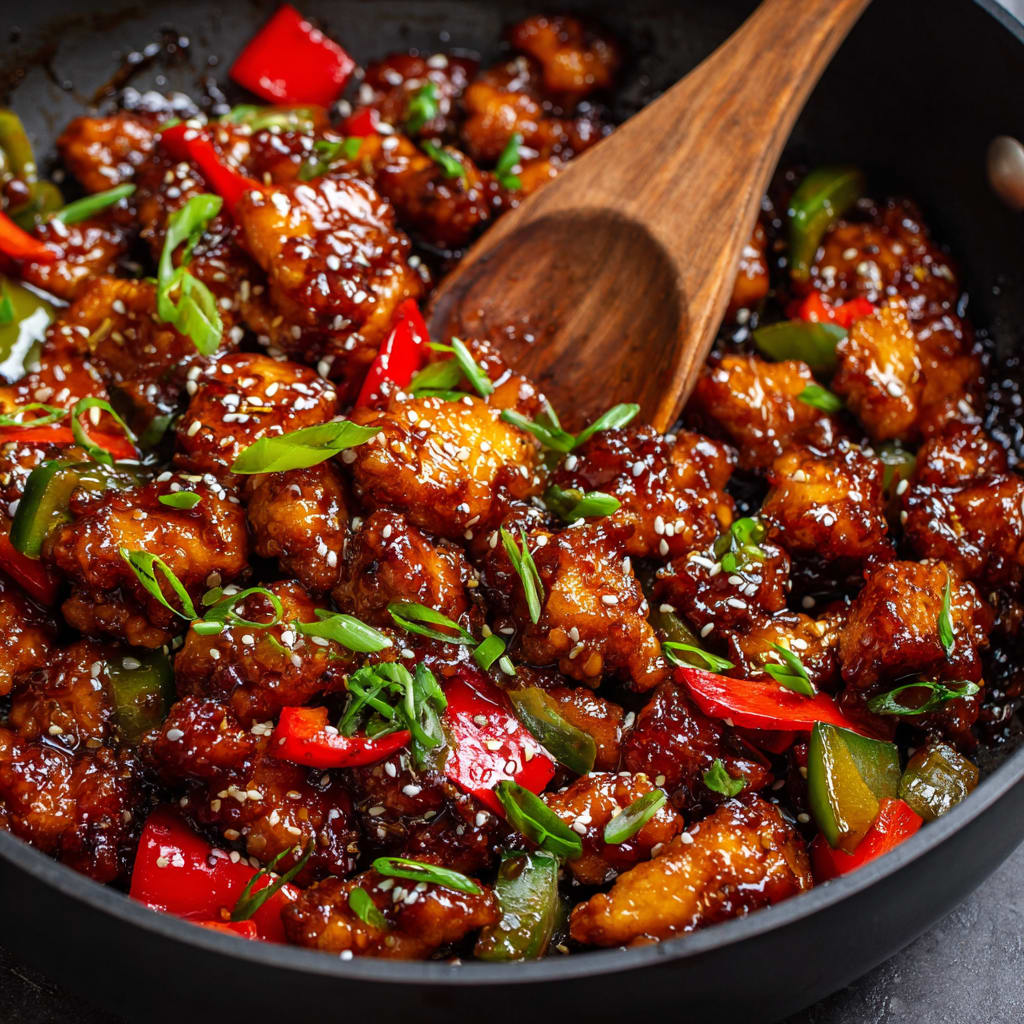
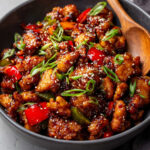
Imagine biting into perfectly crispy chicken pieces glazed with a sweet, savory, and aromatic garlic sauce that clings to every morsel. This Asian-Style Crispy Garlic Chicken delivers an irresistible combination of crunchy texture and bold flavors that will transport your taste buds straight to the bustling streets of East Asia. The fragrant blend of garlic, ginger, and umami-rich sauces creates a dish that’s both comforting and exciting. You’ll learn how to achieve that perfect restaurant-quality crunch while balancing the complex flavors that make this dish a guaranteed family favorite.
Why You’ll Love This Recipe
This Asian-Style Crispy Garlic Chicken stands out for several compelling reasons. First, the double coating technique creates an exceptionally crunchy exterior that stays crispy even after being tossed in the flavorful sauce – a textural contrast that makes each bite satisfying. The marinade infuses the chicken with layers of flavor before cooking, ensuring the meat remains juicy and tasty throughout.
What makes this recipe truly special is its balance of flavors – savory soy, sweet honey, aromatic garlic, and a hint of heat from chili flakes create a harmonious taste profile that’s addictively good. The sauce has that perfect consistency – thick enough to coat each piece without making the breading soggy.
Best of all, while this dish looks and tastes like it came from a high-end Asian restaurant, it’s surprisingly straightforward to make at home with readily available ingredients. The cooking process is broken down into manageable steps, making this impressive dish accessible even to home cooks with limited experience in Asian cuisine.
Ingredients List for the Asian-Style Crispy Garlic Chicken
This ingredient list combines pantry staples with a few Asian condiments to create the perfect balance of textures and flavors. The combination of flour and cornstarch creates the ultimate crispy coating, while the blend of sauces delivers authentic Asian flavor depth.
- 1.5 lbs boneless, skinless chicken thighs or breasts, cut into bite-sized pieces
- 3 tbsp soy sauce
- 1 tbsp sesame oil
- 1 tbsp garlic powder
- 1 tbsp ginger powder
- 1 tsp salt
- 1 tsp black pepper
- 1 cup all-purpose flour
- 1 cup cornstarch
- 2 large eggs, beaten
- 2 cups panko breadcrumbs
- Vegetable oil for frying
- 6 cloves garlic, finely minced
- 3 tbsp soy sauce
- 2 tbsp oyster sauce
- 2 tbsp hoisin sauce
- 1 tbsp honey
- 1 tsp chili flakes (optional)
- 1 tbsp sesame oil
Pro Tips
To elevate your Asian-Style Crispy Garlic Chicken to restaurant quality, focus on these three critical techniques:
First, don’t rush the marinating process. Allow at least 30 minutes (or ideally 2-4 hours) for the chicken to absorb the flavors. This not only enhances taste but also tenderizes the meat, resulting in juicier chicken pieces that remain moist even after frying.
Second, maintain proper oil temperature throughout the frying process. Too hot, and the coating burns before the chicken cooks through; too cool, and the chicken absorbs excess oil and becomes greasy. Use a kitchen thermometer to keep the oil at 350°F and fry in small batches to prevent temperature drops.
Finally, for the perfect sauce consistency, make sure to cook it until it just begins to thicken but remove from heat before it becomes too reduced. The sauce should coat the back of a spoon but still flow easily. This ensures it will cling to the crispy chicken without making it soggy. Toss the chicken in the sauce immediately before serving for the best texture contrast.
Instructions
Step 1: Combine the soy sauce, sesame oil, garlic powder, ginger powder, salt, and black pepper in a bowl. Add the chicken pieces and toss until evenly coated. Cover and refrigerate for at least 30 minutes.
Step 2: In a shallow dish, mix the flour and cornstarch together. In a separate bowl, beat the eggs. Place the panko breadcrumbs in a third bowl.
Step 3: Remove chicken from the marinade. Coat each piece in the flour mixture, dip in beaten eggs, and roll in panko breadcrumbs. Press breadcrumbs gently for a crispier texture.
Step 4: Heat vegetable oil in a skillet or deep fryer to 350°F. Fry the chicken in batches for 5–7 minutes or until golden brown. Drain on paper towels.
Step 5: Heat sesame oil in a pan over medium heat. Sauté minced garlic until lightly golden and fragrant (about 2 minutes). Add soy sauce, oyster sauce, hoisin sauce, honey, and chili flakes (if using). Cook until the sauce thickens slightly, about 3–4 minutes.
Step 6: Toss the fried chicken in the garlic sauce until evenly coated. Cook for 2–3 minutes to blend the flavors. Serve hot, garnished with green onions, sesame seeds, and cilantro if desired.
Variations
The versatility of Asian-Style Crispy Garlic Chicken makes it perfect for adaptation to suit different tastes and dietary needs. For a spicier version, increase the chili flakes or add a tablespoon of sriracha or sambal oelek to the sauce. The heat balances beautifully with the sweet and savory elements, creating a more complex flavor profile.
For a healthier alternative, try an air fryer version. Simply spray the breaded chicken pieces with cooking oil and air fry at 375°F for 12-15 minutes, flipping halfway through. The coating won’t be quite as crispy as deep-fried, but you’ll still get a satisfying crunch with significantly less oil.
Those with gluten sensitivities can easily adapt this recipe by substituting the all-purpose flour with rice flour and using gluten-free panko breadcrumbs. Replace soy sauce with tamari and ensure your hoisin and oyster sauces are certified gluten-free for an equally delicious gluten-free garlic chicken version.
Storage and Serving
Asian-Style Crispy Garlic Chicken is best enjoyed immediately after cooking when the contrast between the crispy coating and flavorful sauce is at its peak. However, leftovers can be stored in an airtight container in the refrigerator for up to 3 days. To reheat, place in a 350°F oven for 10-15 minutes to help restore some crispiness.
For a complete meal, serve this crispy garlic chicken over steamed jasmine rice, which soaks up the delicious sauce beautifully. Add a side of stir-fried vegetables like bok choy, broccoli, or snow peas for color, nutrition, and textural contrast.
For a more elaborate spread, pair with vegetable spring rolls, a simple cucumber salad with rice vinegar dressing, or some quick-pickled vegetables. The tangy acidity of these sides cuts through the richness of the crispy chicken, creating a balanced Asian-inspired feast that’s sure to impress your family or dinner guests.
FAQs
Can I make this Asian garlic chicken ahead of time?
You can prepare the components ahead of time, but for best results, the final assembly should happen just before serving. Marinate the chicken and prepare the sauce up to 24 hours in advance, but bread and fry the chicken just before serving to maintain crispiness.
What’s the best substitute for oyster sauce?
If you don’t have oyster sauce, use an additional tablespoon of hoisin sauce mixed with a teaspoon of soy sauce. This won’t perfectly replicate the unique umami flavor of oyster sauce but will still create a delicious Asian-Style Crispy Garlic Chicken.
Can I use chicken wings instead of chicken pieces?
Absolutely! Chicken wings work wonderfully with this recipe. The cooking time may need to be increased by 2-3 minutes to ensure they’re fully cooked through.
Why isn’t my breading staying crispy after adding the sauce?
To maintain crispiness, make sure your sauce is slightly thickened before tossing with chicken, and only combine them right before serving. If making ahead, keep the fried chicken and sauce separate until the last minute.
Is there a non-fried version of this recipe?
Yes, you can bake the breaded chicken on a wire rack at 425°F for 20-25 minutes until golden and crispy, turning halfway through. While slightly less crispy than the fried version, it still creates a delicious crispy garlic chicken with fewer calories.
Asian-Style Crispy Garlic Chicken
- Prep Time: 15 mins
- Cook Time: 30 mins
- Total Time: 45 mins
- Yield: 4 people 1x
- Category: Dinner
- Method: Cooking
- Cuisine: American
Description
Discover how to make Asian-Style Crispy Garlic Chicken with this easy recipe! Perfect for a delicious weeknight dinner.
Ingredients
- 1.5 lbs boneless, skinless chicken thighs or breasts, cut into bite-sized pieces
- 3 tbsp soy sauce
- 1 tbsp sesame oil
- 1 tbsp garlic powder
- 1 tbsp ginger powder
- 1 tsp salt
- 1 tsp black pepper
- 1 cup all-purpose flour
- 1 cup cornstarch
- 2 large eggs, beaten
- 2 cups panko breadcrumbs
- Vegetable oil for frying
- 6 cloves garlic, finely minced
- 3 tbsp soy sauce
- 2 tbsp oyster sauce
- 2 tbsp hoisin sauce
- 1 tbsp honey
- 1 tsp chili flakes (optional)
- 1 tbsp sesame oil
Instructions
- Step 1: Combine the soy sauce, sesame oil, garlic powder, ginger powder, salt, and black pepper in a bowl. Add the chicken pieces and toss until evenly coated. Cover and refrigerate for at least 30 minutes.
- Step 2: Bowl 2: Beat the eggs.
- Step 3: Bowl 3: Add panko breadcrumbs.
- Step 4: Remove chicken from the marinade. Coat each piece in the flour mixture, dip in beaten eggs, and roll in panko breadcrumbs. Press breadcrumbs gently for a crispier texture.
- Step 5: Heat vegetable oil in a skillet or deep fryer to 350°F. Fry the chicken in batches for 5–7 minutes or until golden brown. Drain on paper towels.
- Step 6: Heat sesame oil in a pan over medium heat. Sauté minced garlic until lightly golden and fragrant (about 2 minutes). Add soy sauce, oyster sauce, hoisin sauce, honey, and chili flakes (if using). Cook until the sauce thickens slightly, about 3–4 minutes.
- Step 7: Toss the fried chicken in the garlic sauce until evenly coated. Cook for 2–3 minutes to blend the flavors. Serve hot, garnished with green onions, sesame seeds, and cilantro if desired.
Notes
Try This Recipe and Leave a comment Below, your opinion matters to me!
Nutrition
- Serving Size: 4 serving
- Calories: 400
- Sugar: 5g
- Sodium: 400mg
- Fat: 10g
- Saturated Fat: 3g
- Unsaturated Fat: 7g
- Trans Fat: 0g
- Carbohydrates: 40g
- Fiber: 5g
- Protein: 15g
- Cholesterol: 50mg